Thursday, January 29, 2015

Tutorial - The Better to SEE You With!

Hey look! A 'clever' and overused title! At least it's something!

I've been asked by a few people how to paint eyes, and I promised that my next custom will be the one for the tutorial. I want to apologise in advance about the quality of the photos - I wasn't using my lamp to see and this is what I get for it. I have some tweaking to do with this method and the materials I use, so another - updated - tutorial is expected in the future. I'll have clear photos then! I SWEAR.

Okay! so to start, I'm going to be a hypocrite and say "use a reference when painting eyes." I'm a hypocrite, because I didn't. You can get away without a reference if you've spent hours staring into horses' eyes (like I have,) but even still it's best to have a picture (or the real thing) at the ready for maximum realism!

I  highly recommend - even push - that you use a reference for blue eyes or bi-eyes. They're a lot more complex than brown eyes, so it's a good idea to reference something. I haven't owned a horse in over a year and the photos I have of my first horse's eyes aren't the best, but why not put them to use since they're the ones I mentally referenced?


The biggest thing to keep in mind is that horses don't have circular pupils like we do. That's one thing I've seen in some customs - especially from beginning customizers. People paint circular pupils on horses when they're not circular at all! They're oval, and sometimes they're just three dots in a line. 

As with any eye, the bottom is usually lighter than the top, since it doesn't have as much shadowing from the eye lid. We want to keep this in mind when we paint, and this is why I recommend using a reference. 


Okay, the lecture is over, let's get to work! 

Depending on what colour of eye you're doing, you'll need at least 4 different colours - the base, the highlight, the pupil, and white. You can mix the black (pupil) with some of  the base colour for the shading. 

You'll also want a very fine brush. I use a 0000 liner I got at michael's for $4. It may be expensive for one dinky little paintbrush, but boy does it make a difference!!

For glossing, you can use clear nailpolish, or mod podge. I use mod podge, because then I can choose the size of brush I use and have more control over where I'm glazing.

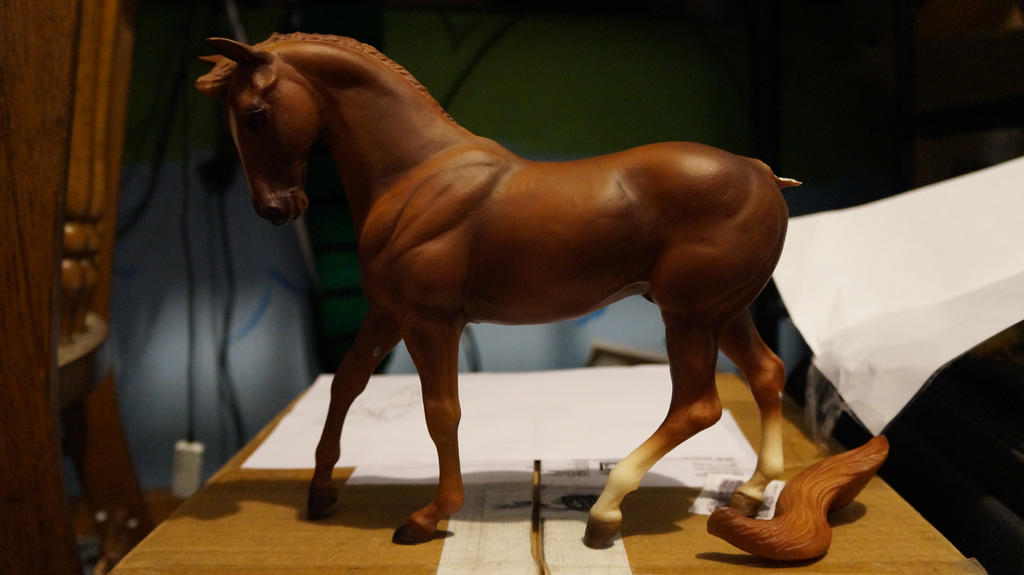
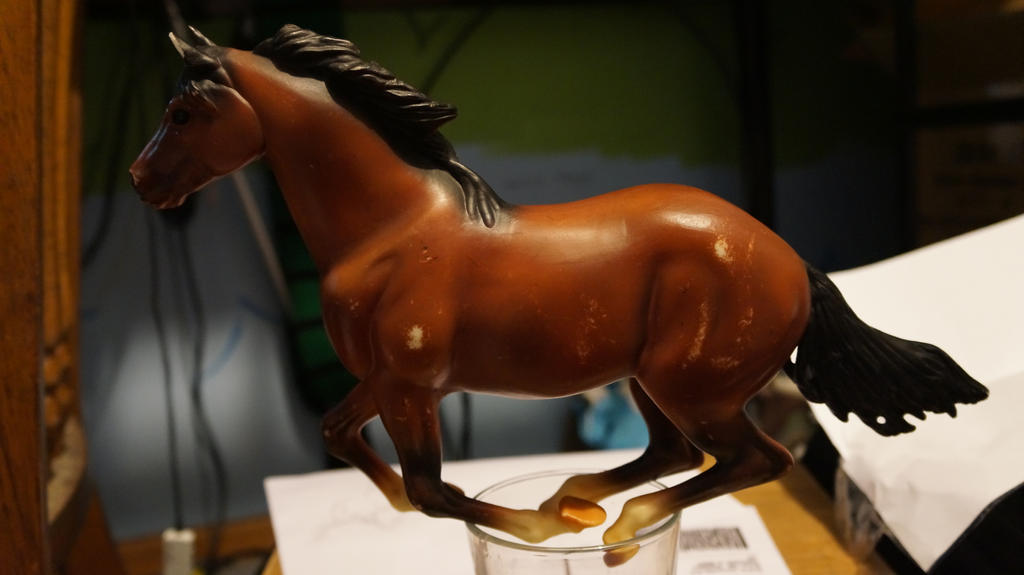
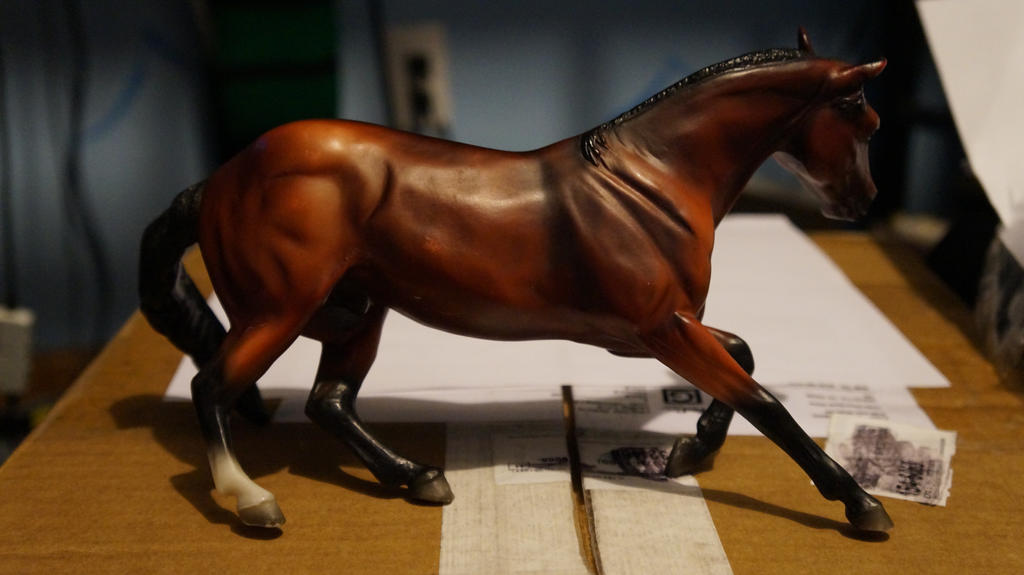
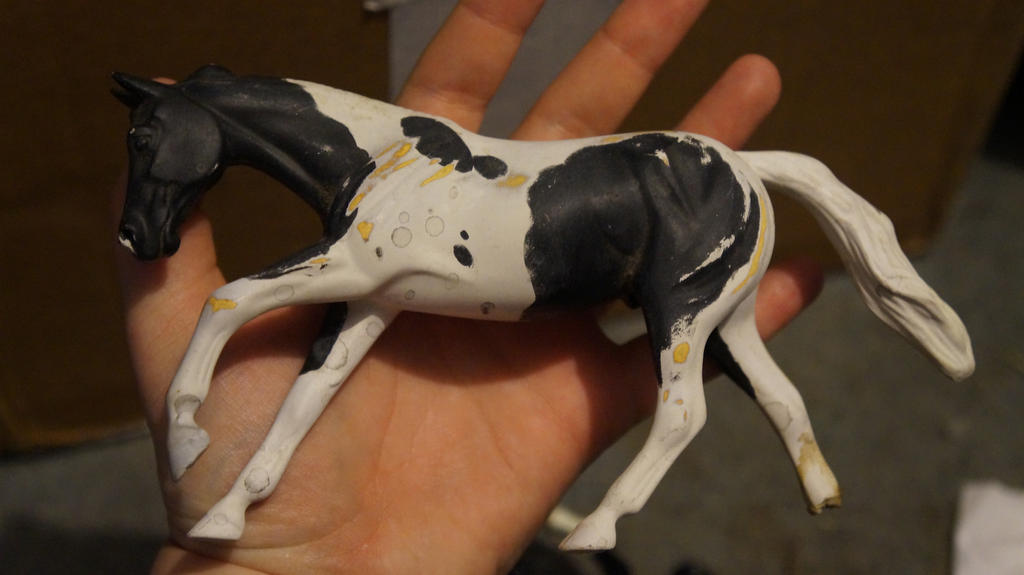
To start, make sure all of your custom body work is done. The horse should have its coat and this should be one of the last steps you do. 

If your horse meets the criteria, then we can continue! 
Start with a little drop of black paint. It literally doesn't even need to be a drop. Heck, shove the paintbrush into the bottle - there's no need to waste paint by dabbing it onto a pallet. 

Then, paint the whole eye black. That's right - black. Not white. We'll get to that in the next step.


The black sets a good foundation for the rest of the paint, and gives the eye an outline. Additional "eyeliner" can be applied if the horse is a paint/pinto or has a bald face if you so desire. 

Work on both eyes at a time. While you're working on the second eye, the first eye has enough time to dry so you can keep going and won't have to repeat the whole process for one eye. 

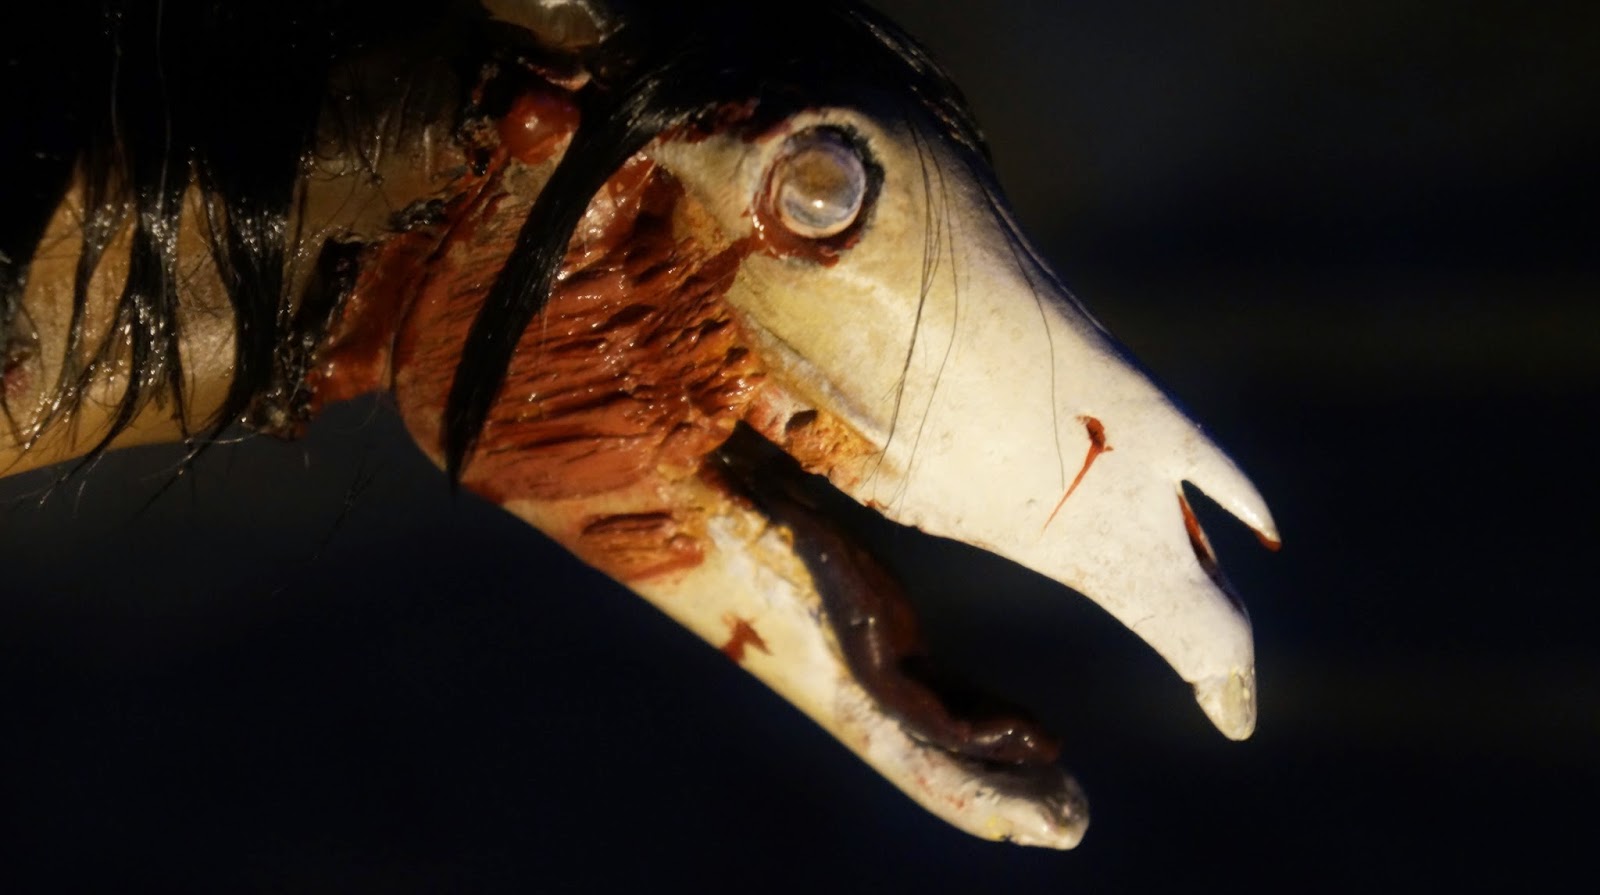
Once one eye is dry, look at your model. How do you want the eyes? Are they looking forward like Dakota in my references, or are they looking a different direction? Is there any white showing at all? If yes, this is the next step. 

Take some white and cream (or brown if you don't have cream, and add a little dot of yellow) and mix together to get a really light tan. This will be the sclera. Spot's eyes were looking back, so I added the white to the front corner. Grab a ref for the pose of the eye as well. Raceing/galloping/scared horses might have a white halo around the upper eyelid, while barrel racers might be looking back like this horse. It also depends on the breed - appies and paints tend to have smaller irises than other breeds, so more white shows.


Next, take the black again and refine the edge to make it more round. The sclera above was too crescent-shaped for my liking, so this step allowed me to make the edit needed.

I thought I had a photo for this. Whoops!

After that, take a bit of white and make a little line. Push it up as close to the edge of the black as you can, without completely painting out the black. This step is optional, but I've found that it makes the eye look more realistic, so I do it. 

You don't have to paint the whole area white.

Then, take the black AGAIN and paint over the white, pushing the black as close to the edge of the white as you can without painting over the white. You should have a thin black and thin white line now. 


I could've pushed the black up further, but I couldn't see without my glasses or contacts on so I played it safe. 
Alright, now onto the colour! 

take that base tone you chose and cover the rest of the eye with it. You don't have to leave a thin black line for this part, but make sure you don't paint over the white line. 


Next, take your shadow colour that you mixed (or have) and paint the top half of the iris according to the eyelid. How dark your shadow is, is up to you. I wanted a medium shadow, so I made it slightly darker than the base coat. Acrylics dry darker than the colour they are when wet, so keep this in mind!


Now, take your highlight colour and paint a thin crescent on the bottom half. It's okay if it's sloppy as long as it's curved correctly. 
I used the raw cream colour that I used to mix with the white for the sclera. 


Then, I take the base tone and refine it so it's just a thin line that doesn't touch the pupil nor the lower eyelid. It's suspended so to speak.

Now, I add the pupil. A general rule of thumb is that the pupil should be parallel to the ground. That's something I forgot when painting these eyes, but oh well - it's just something to keep in mind for next time!


Now it's time to glaze! 

Now if you would like, you can dry-dab some white on the center of the sclera to imitate roundness.

This part is up to you on what you use. You can wait until you paint the hooves and then re-seal the whole model, or you can use clear nailpolish (which is waterproof obviously) or Mod Podge which is also a sealer to glaze and seal the colour. You don't want to glaze the eyes if you're going to spray the model again. Wait until afterwards, or the matte spray may reduce the reflection of the eyes. You can skip this part if you're glossing the entire horse, since it generally won't make a difference when the whole horse is glossy. 

I personally used mod podge, which has a very strong odor (even I was surprised and I'm used to the smell of ammonia) so make sure you have a window cracked if using it inside as it can be unpleasant and I can't imagine that being safe to breathe. 

Take the same brush (if using mod podge - if using nailpolish, use what's given) and cover the wntire surface of the eyeball with the glaze. Try to keep it within the confines of the eyelids, or it'll look like the horse was crying or just got off a really fast rollercoaster!

Mod podge goes on white but dries clear, so there's a moment where the horse looks blind!

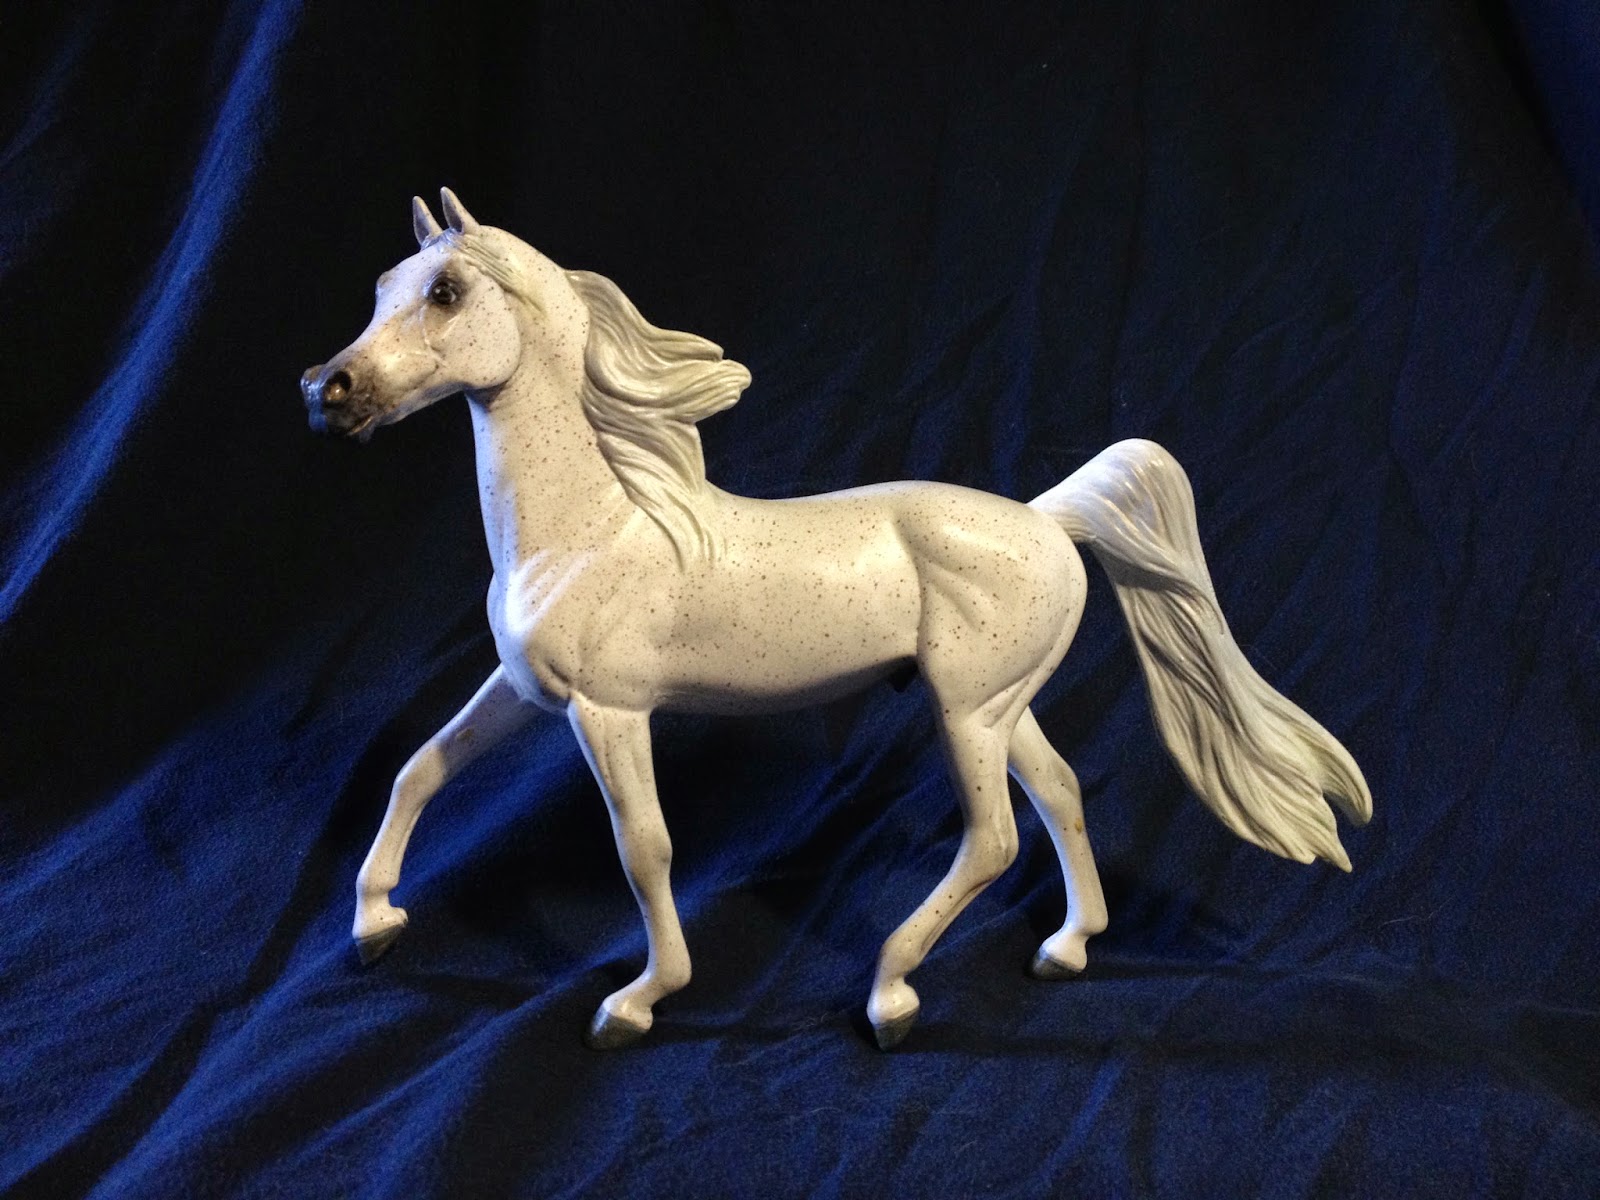
Wait for that to dry and admire your new, live-looking eyes!


I hope this helps! If you have any questions or ideas for future tutorials, post in the comments below!
Over and Out!

Tuesday, January 27, 2015

BCS Winter Challenge

Hey everyone!
Jennifer Buxton of Braymere Custom Saddlery is holding a photo contest! As soon as I saw it, I wanted to get to work.

I love taking photos and the prompts issued for this challenge really got me thinking. So - although they might not be the best - here are my photos!

1. Vintage
When I was writing down my ideas for the prompts, I got snagged on "Vintage." "I don't have any vintage models," I said. My models stared back at me in disgust. I have four vintage models. So, here is my oldest:

 Phar Lap.
Inside this horse's leg is carved (C) 1984 and 20th century fox. He was a gift to me from my mamaw, and so even though he's considered body quality, I doubt I'll ever customize him. I might send him off to be restored, though.
Untitled by Ayedeas

2. Nekkid
There were so many different ways I could've gone about doing this, but once I got thinking, one image plastered itself into my mind. Unfortunately I didn't have a cloth thin enough to pull it off elegantly, but I hope the concept still stands!

3. Scale Issues
Okay, I thought about a lot of ways I could do this, but I decided to touch home with a problem I had in my childhood - riding my Our Generation (American Girl) horses. There was a time where it wasn't too bad - it was just like riding a small donkey, but as I got older, I noticed the horse was getting smaller, and smaller. So, here I present to you - Scale Issues!

The horse in the photo is for sale!

4. I See Spots
I knew exactly what I was going to do for this one. For the past couple of weeks, I've been working on giving a cutting horse appy marks. I've lost sleep over working on him, and I felt no model would be better to execute this than he. He's almost completed, and once he is, he, too, will be for sale!

EDIT: He is completed and for sale! 

5. Unbridled Passion
When you hear the words "Unbridled Passion," you think mustangs. Wild horses. Galloping. You might even think of the scene from Flicka, where she's galloping with her arms spread and head back. 

I say it can be more than that. You don't have to be galloping at full speed bareback and bridleless to have unbridled passion. It can be the gentlest of moments that really tug at your heart. And with that, here's my take on "Unbridled Passion."

6. Rare breed
This is where I had another brain fart. I was looking at my models, thinking "Man, I really don't have a rare breed." I mean, yeah, there's the Przewalski resin I'm sculpting, but he's not even finished let alone painted, so I didn't count him. I stared, and stared, identifying the breeds of all of my models, when one stuck out like a sore thumb - almost literally if you get a good look at it. 

While it's technically not a breed per se, it's definitely rare.

Here's Victim of Science - my experimental zombie custom. (bit of a pic dump here)


7. Portrait
I thought about what I could do with this one, because portraits are pretty generic things in the model horse hobby. Unfortunately, I didn't come up with anything productive, but hopefully it has an impact all the same!


These next ones are from November (thanksgiving morning, actually), but I liked them enough to include!


8. Conga
Okay, I swear I'm mostly sane. 
With that being said, as soon as I realised I DO have a conga (three actually) the first thing I thought was "Satanic ritual"

I'm not a satanist, so I have no idea where that came from. But, that didn't stop me from doing it!

It looks more like some friends telling stories by a camp fire, no? <I'M TRYING TO MAKE IT FRIENDLY OKAY>

G1 Swaps and G1 Seabuiscut stablemates - all but one are bodies that I'll be customizing soon.


9. The Great Outdoors
It's too cold where I live to go out and take some new photos, so I hope you don't mind if I recycle! One thing I love doing with my models is taking them outside and getting pictures. It's a challenge for me to get the scales of the background and foreground correct to the model, and at the same time make it seem realistic. So, here are some photos that I liked from my Thanksgiving shoot, repurposed for this contest!

 It's horsehair on her vest shhhh


10. Best in Show 
I don't live show. There's only one place in my current area that holds live shows and the next one they're hosting is after I've already moved to Kentucky. Maybe someday! Because of that, I can't show you my "most prized winner" because, well, I don't have one.

So, have this instead! I know what I could've changed to make it better, but overall, I like it!


That concludes my entry!
If you haven't already, I highly suggest you go check out the contest. Even if you don't win, it's a great way to exercise your creativity!

See you next time (hopefully with a tutorial!)
Over and out!

Monday, January 19, 2015

WIP - Cutting Horse

Hello everyone. I hope you're doing great!

I'm going to keep this post short and sweet - I just had to get my less-than-favourite aunt after she had a fight with her daughter and had to drive her back to my mum's house while she's screaming in my ear, so I have a pretty massive headache and need to go lay down.

Before I do that though, I wanted to show my most recent custom WIP, which is on the Scamper model! I'm painting him to be an Appaloosa. Here's the current progress!


I have yet to do the other side.

He will be for sale once finished, and I definitely plan to post more WIPs as I go!

Thursday, January 15, 2015

Tutorial - Fixing a Warped Leg

One of these days I'll have a clever title for these things.

Today is not that day.

I'm sure you can find tutorials all over the internet on the topic, but I had a foal that needed her leg fixed and I figured it was time to post a tutorial - so here we go!

I have a Proud Arabian Foal that I got with a warped leg. She could still stand, but she looked funny.


Most warps are very slight, but this was an extreme case to where the pose was almost altered completely.


To fix this, I grabbed my handy lighter


and started heating the area of the leg that needed to be reshaped.


It's best to wave the flame much like you'd do a hairdryer to your hair, to keep the plastic from burning. Make sure you get all angles to ensure the plastic is heated all the way through.


It is OKAY for the flame to touch the plastic, but remember that too much heat too quickly can cause the plastic to burn, and the flames may leave soot and yellow the plastic. So if you're simply trying to fix an original finish, new model, give a little distance between the flame and the plastic to keep from yellowing or burning the plastic or paint. The more distance you give it, the longer it takes, but the safer you'll be to save that leg.

I plan to customize this horse, so I wasn't afraid to let the flame lick her leg.

Once the plastic is heated, gently push it in the direction you need to, to get it straight. Only push it as far as it's comfortable. If it threatens to buckle the plastic on the side opposite your finger, leave it alone and heat another area to get it straight.


This was as far as I could push it, but there's still a slight warp going on. The lower half of the leg was straight, so I re-heated the warped area

And repeated the process.


And now we have a perfectly-straight leg!


Here's the video of the process, so you can see all of the steps in action!


I hope this helped! If you have any suggestions for a tutorial, let me know and I'll see what I can do!

New Year, New Victims - I mean projects

Hello everyone! I hope your new-year's was awesome!

With the sale of Casual Affaire


I was able to buy a body lot of 17 horses.
These horses will not be going toward Project Redemption. Instead, most of them will be sales pieces!

I bought the lot off of ebay, and it arrived literally the day after it was shipped. I was amazed!

The lot included:

Big Ben

Untitled by Ayedeas

Blue Box Thoroughbred - I plan to work on him on and off to make him a better-quality model (and possibly a reining horse!)

Untitled by Ayedeas

Traditional Scratching Foal

Untitled by Ayedeas

Classic Fighting Stallion

Untitled by Ayedeas

Scamper

Untitled by Ayedeas
Untitled by Ayedeas

Classic Quarter Horse Stallion by Maureen Love (not OF) - I'll be keeping him for a while

Untitled by Ayedeas
Untitled by Ayedeas

Classic Quarter Horse Foal

Untitled by Ayedeas

Two Peter Stone Pebbles - I'll be keeping the appy one; the other will be repaired, customized, and then for sale!

Untitled by Ayedeas
Untitled by Ayedeas

Seven stablemates: 2 cantering thoroughbreds, 4 standing thoroughbreds, and a drafter. The buckskin on the far right is the one I'm keeping - the rest will be either commissioned out, or used to practice and test colours out for larger-scale customs.
Untitled by Ayedeas
Untitled by Ayedeas
Untitled by Ayedeas

As stated previously - and unles otherwise stated - these will all be customized and then up for sale, so keep a look-out as I'l be announcing their sales and posting WIP pictures! If there's a certain thing you'd like to see a tutorial on, please let me know and I'll try to cover it during one of my customs! Seriously, I love providing tutorials so don't be afraid to ask!