Thursday, September 17, 2015

Tutorial: Tying a Model Horse Rope Halter

Today's post is a tutorial on how to make a traditional (1:9 scale) model horse rope halter!

Rope halters are inexpensive training tools favoured by horsemen and women all over the world. Their thin structure has less surface coverage, meaning corrections are sharper than that of a regular nylon/leather halter. Because of this, it is a favoured tool for green horses who need a clear signal, and stubborn horses who are maybe a bit pushy or hard to handle otherwise and need loud and clear corrections. Because of this, Rope Halters should be used with caution.


However, these halters aren't always used for training! Because of their minimalist and light design, they fit well under bridles and are perfect for trail and endurance rides. Oftentimes the lead is looped around the horn of a western or outback saddle, and if used on an English horse (or the saddle doesn't have a horn), can be loosely tied around the horse's neck in the appropriate knot, or stowed in a saddlebag or bookbag if present. This gives the rider a safe and convenient means to tie the horse up should they happen to stop for a break, or for any other reason, without creating too much bulk.

Today, I'll be creating a halter for my horse, Irish Diamond, who will be customized to resemble my last horse, Big Irish Red.


 Because of the "Irish" theme going on here, I've decided to use a nice vivid green that will pop on both Grey and Chestnut.

Some things you'll need, are:

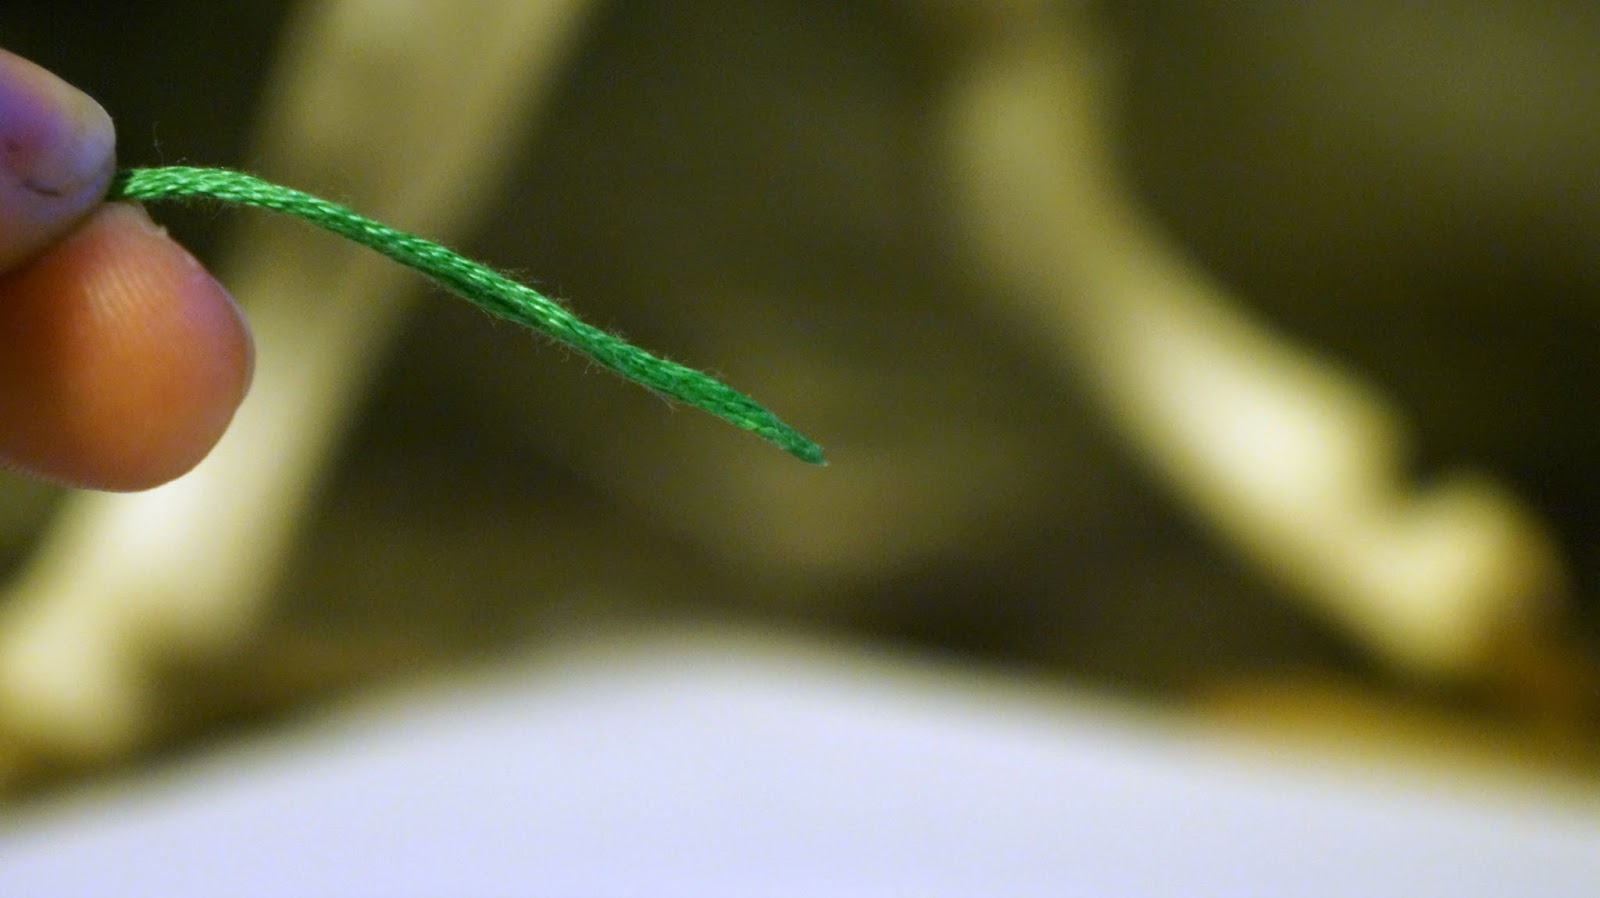
Six-strand embroidery floss or any similar thickness "thread." Beading cord works well. I would generally avoid plastic cord or elastic. Plastic is too rigid and won't tie well, and elastic is too stretchy, meaning you may not get an accurate fit. 1 millimeter (mm) or thinner elastic may work. Experiment with different threads and cords to figure out what works best for you! I will be using embroidery floss for this tutorial.

A pair of sharp scissors. Sharp scissors are recommended, because you will get a clean cut in your "rope" making it easier to work with when threading through the knots and loops.

A ruler or tape measurer for measuring "rope" length. I will be using a tailor's tape measurer today.

Water or other means to wet the thread. The edges will fray the more the thread is handled, so wetting the ends will make it easier to thread through the knots and loops.

Super Glue, fire, or tape. When the halter is made, you will want to secure the crown ropes together, so they're easier to thread through the tie loop.Superglue works just fine in most cases, but if nylon thread is used, fire might fuse the threads together. Alternatively, tape (ducttape) can be used. Super glue works fine for me, so this is what I will be using.

A body or body double of the model you will be making the halter for. I recommend using a body.

A chopped up toothpick to hold the knots open. (Optional) and at least one full toothpick to work the knots and loops. (not pictured)


Halter fit is a topic I will cover at a later date,  but for now let's take a briefing.

The biggest problem in this hobby is halter fit. Oftentimes, I'll see nosebands too low and cheek pieces too long.

This is incorrect.

The correct fit of a halter means that the throatlatch should sit snugly (NOT TIGHTLY) behind the jaw. The cheek piece should be the length of the horse's cheek, and parallel with the cheek bone, and the noseband should rest right in front of the cheek. The halter rings should be just below the cheekbones evenly on both sides, and the lead loop/bottom of the noseband should not hang visibly low off the jaw. On a real horse, you should be able to fit two fingers under the noseband and the throatlatch at any given time,


The same is true for rope halters, save that the throatlatch tends to rest in the middle or last 3/4 of the jaw. (This is also true for some nylon web halters)

So, now that we have the proper fit fresh in our mind, let's get to work!

To find the minimum amount of rope or thread for your scale of model, take 650 and divide it by your scale (650/9 for traditionals; 650/12 for classics, etc) This will give you the length in centimeters.

You will need a minimum of 72 centimeters of thread or cord for a traditional. I will go 80 just so I have room for mistakes.

Measure and cut your thread, and then fold it in half to determine where the noseband will start.


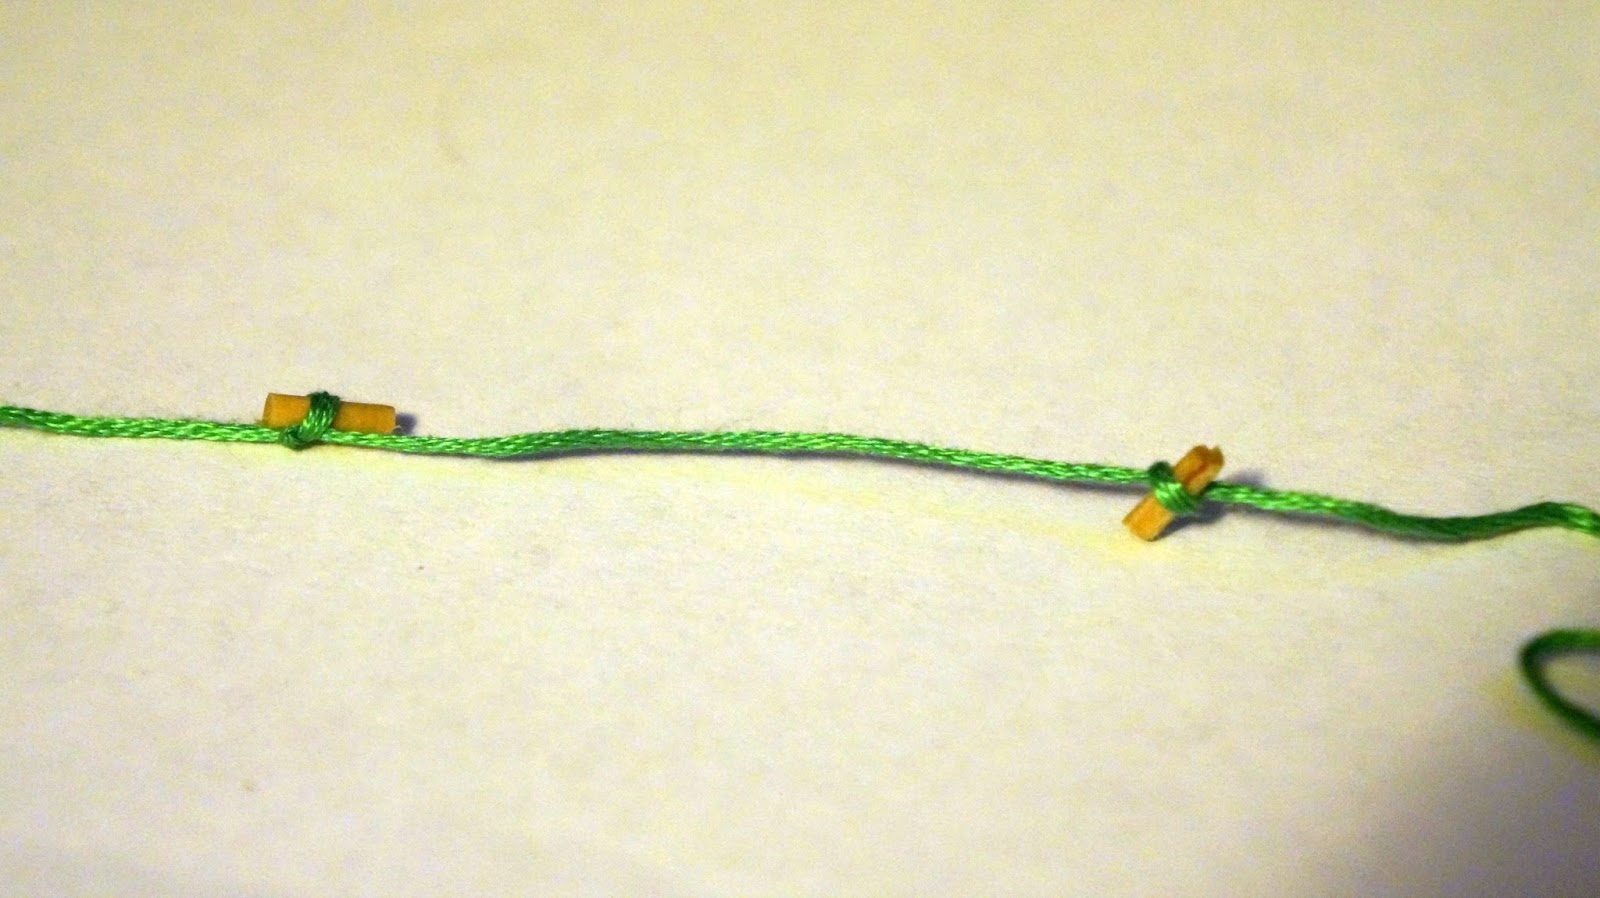
Place the center of the fold in the center of the model's face, putting it in the correct spot for the noseband. Then, with your free hand, gently pull one strand to one side of the face, pinch the spot under the cheek bone and tie a loose knot there. I use pieces of toothpicks to hold the knots open, as I am clumsy and have accidentally locked knots in the past. (if you are using a stiffer thread or cord, you won't have to use anything to hold the knots open)


Now, place the knot back in place on the horse's face, and do the same for the other side. Make sure they are even. Loosen and adjust the knots as needed until they fit.


Now you should have something like this:


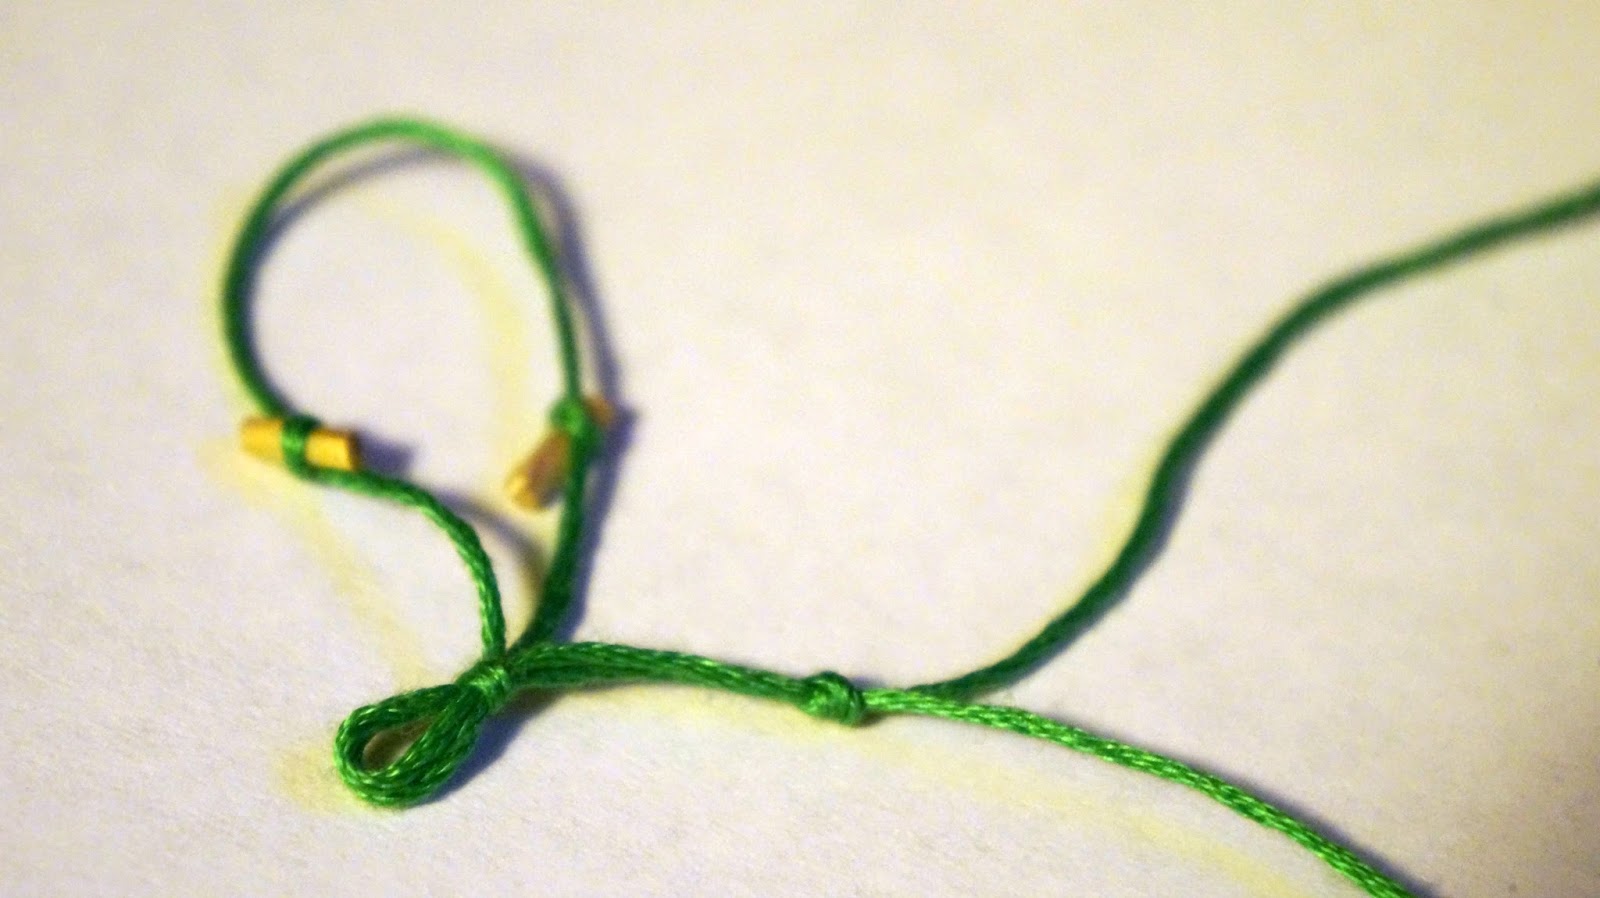
Next is to make the lead loop. Put the "rope" back on the horse's face and - making sure the knots are in their correct places -  pull both threads together at the bottom of the jaw and pinch the area the knot will be at. If you know how to do a fiador knot, you can do that here. However, I don't, and I don't need anything so fancy. So, I will be doing a simple knot.


Instead of pulling the thread all the way through the knot, make a loop. Make sure the cheek knots are even and work the loop knot up into place. Check the fit before finalizing this knot, as doing it wrong will ruin the halter's fit. Remember, you want the knot to rest just below the jaw, not hanging off the face.

This is too loose.

Make sure the loops are even and small. You should be able to fit a claw clasp easily without too much room to spare. If you find the loops to be uneven, pull gently on the individual strands until they're even.

Tip: Shoving a toothpick in the loop and tightening it will prevent the loop from getting too small.You can also gently wiggle and push down on the toothpick to loosen the loop as needed.

Using the toothpick to manipulate the loop and knot.

When the loop is satisfactory, set the knot. This is where I tend to accidentally set the cheek knots, which is why I use toothpicks to hold them open.

That's better!

Now we will be making the straps that run under the jaw. Placing the noseband back on the model with the strands facing the back of the horse's head, go up the jaw to about 3/4ths the length and tie another knot using both strands at the same time. (the same way you did the loop knot, but without the loop.)


At this point, you will want to separate the strands. They will usually tell you which way they want to go, so use the one closest to the left side of the horse first. Take it up the horse's jaw, and - keeping parallel to the cheekbone (imagine a line running from the cheek knot to this point) pinch where you want to tie the next knot.

Left strand (bottom), Right strand (top)

This will be another loop knot, and possibly the trickiest of the two. You don't want it to be set too high, and you don't want it to be set too low. To check this, make sure the knot below the jaw (where the string you're holding came out of) is centered in the middle of the jaw. Hold it there and use your free hand to measure and mark the next knot. You are marking the knot's location, not the loop. You want this knot to be able to run as close to a parallel line as it can between it and the cheek knot, and the cheek bone!


Tie the loop knot the same way the lead loop knot was made. This loop has to be large enough to thread the crown strands through in the end without being too large. The toothpick is a good aid for achieving this, again.

After that's done, take the string remaining from the loop and thread it through your cheek knot. Take your time to adjust it. You want the cheek piece to support the noseband and keep the throatlatch from deviating. So, you want it to be the length of the cheek bone, roughly.

Tighten the knot on the rope when you're sure it's in the right place.

Now, take that same strand and go OVER the nose, and thread it through the second cheek knot. MAke sure you adjust the knots so everything fits even after they're tightened. 

Next, take the same strand we've been working with and meet up with the throatlatch strand we abandoned a while ago. Your goal here is to match the lengths up with the other side, so feel free to take off the halter and compare your "coordinates" with the finished side. Once you've got it matched up, tie another knot. Put the halter back on and pull the two strings over the horse's poll to check the fit.


If it fits, go ahead and thread the crownpiece through the loop and trim them to fit. I trimmed mine slightly long, because I knew I was going to mess up the next step. 


This is where the super glue comes in. Take the end and put a small drop of superglue on it. (I've found that wetting the ends, rolling them together and then shoving them into the nozzle of the super glue bottle works best)


Take your index and thumb and roll the ends together while the super glue is still wet. This will get on your fingers so wear gloves if you're sensitive. keep rolling until you can feel it cure.

Now the strings will stay together and make it easier to thread through the loop!

While you've got the superglue out, go ahead and put a small drop on the loops, and use the toothpick to distribute it throught the entire inside. This will reinforce them and keep them open so you can thread and clip easily. (Work one at a time.)


The finished halter!


The smaller you go, the thinner the material you use. On this stablemate portrait I did, I used some sort of golden thread.


I hope you found this helpful, and if you have any ideas or topics for future tutorials, let me know!

Over and Out!

Monday, September 14, 2015

Model Horse Photography Tips

Today's post is from guest writer, Courtney Geck! Courtney is a great friend of mine and she volunteered to write up a photography post for us today! She didn't provide many photos so I will put in examples where they are due.

Without further ado, take it away, Courtney!


Model Horse Photography Tips
By Courtney Geck


Hi there, Courtney here! I have always had a camera as far back as I can remember. To me, taking photos is so much more than just taking a simple picture. It's capturing a moment forever frozen in time. As cheesy as that may sound, it's true, it applies to everything you snap a picture of.

Cameras can be tricky and you have a lot to learn depending on what you are using. For years I used a small little point and shoot camera. 

I got my first DSLR (digital single-lens reflex) in 2014. 


It's been tricky, but I am learning. That's the beauty of photography: you never stop learning! 

I decided to start my own business photographing people and animals; best decision I have ever made. I volunteer for ARF (Animal Rescue Foundation) and am named as the Official Photographer. I have done 1 wedding, and a few sessions for co-workers and friends. Enough about boring me! Let's get to the good stuff!

Breyer Photography is fun, and my goal is to make them look as real as possible. I hear a lot of people saying stuff like, "Well I don't have a fancy camera." Honestly you don't need one, yes it helps improve quality but what matters most is perspective. Also, editing software can improve your photography. 

Here are some free programs that do an awesome job!
1. Picasa
2. Photoflitre Studio
3. Gimp
4. Picmonkey
5. Lunapic
5. Photobucket

I, myself, use Lightroom and Photoshop.
Don't let others' photos intimidate you either; this is always something I always hear.

Here is an awesome quote by Jared Padalecki:

 "There’s always gonna be be someone better looking, there’s always gonna be someone smarter, there’s always gonna be someone who works harder. What you have to offer is yourself, so don’t lose it, focus on it and try to bring it out" 

In other words, don't compare your self to others, just be yourself!
Think about it: how big are you, and how big is that little plastic horse? Pretty tiny right? So in order to make the photo realistic, you cant really take it like you're looking down on them right? (Although real life mini micro horses would be amazing, but we can only dream right?!) Here are a few steps that will help:

Step 1: Look at your surroundings, see what you are working with. I try and avoid stuff like houses, mailboxes, vehicles, or other man made-stuff that will make the models appear small and not necessarily look like real horses.
  • Bad backdrop: (Dog butt, shed, giant fence, etc)
  • Passable Backdrop: (Trees seem in scale, foreground cleared out; grass not too tall. Could've cleared the leaves from the background, though)


Step 2: Lighting. Okay, this is a major factor in photographing everything!! Ask yourself, "Where is the best light source coming from?" Try and avoid shadows and dark places. (As an added note: Try not to do back-lit shots on light-coloured OF models. Breyers are hollow and light will pass through them, making them glow. This isn't as big of an issue in darker-coloured OF models and some/most customs, and most solid resins don't glow when back-lit)

  • Bad lighting: (Bad angle, too - don't be afraid to lay on your stomach to take photos! Just make sure you're wearing clothes you don't mind getting wet/dirty)


(Example of the backlit OF Breyer horse compared to a custom grey Breyer horse)


  • Good Lighting: Model is easily distinguished without heavy editing; light direction able to be determined

Step 3: Focus. Please make sure your camera is focused in on the model and not blurred out so that you are not taking pics of blurry horses and in focus backgrounds. To do this lightly hold down the shutter button so you are not pressing it all the way. (DSLRs and bridge cameras also have a manual focus option, which is useful for getting crisp details in one area, such as the face, or making sure the model is fully in-focus.)
  • Bad focus: (and background)

  • Good focus:


Step 4: Perspective. Okay, so there's that word again! I've found that getting down on the ground and getting level with the model is the best way to get a good shot. Also putting your model on a table, roof of your car (don't recommend this, though I have done this a few times;) whatever makes you comfortable!.

This is where a lot of people prefer studio shots with dioramas and backdrops, but you don't need all that! In the one of secretariat [above] I had him on a table. Sometimes, even simply holding the model up works well! Experiment, just remember - unless you're doing a BLM roundup scene and want the helicopter's perspective, get on the horse's level.


Thanks for the post, Courtney! 

Remember, if you have any ideas for future topics and tutorials, feel free to drop me an email or post a comment! 

Over and Out

Sunday, September 6, 2015

Zombie Commission Update


I started the emaciation work on [C]Pestilence a few nights ago, and the plastic is moulding well for me. I needed to do some work on that shoulder, but it wasn't a problem.


Next I had to shape the rump so I can remove the excess plastic without creating a large hole, while at the same time getting it shaped for the emaciated look. I also have to work on the thigh and shaping that. I'm still thinking about how I want to cut that thigh to move the leg.

I also have to think about what I'm doing with the rib-hip transition. Since I'm carving out the ribs I'll probably leave an inch-wide strip along the spine to work with. If not I can always sever it completely like I did with VoS and rebuild it, but I'll try to keep as much of it as I can.

It's rare that a model works for me, so I'm anticipating the moment I accidentally butcher it and have to work hard to correct my mistake. 

I finished most of the emaciation work last night, though I have to work on the rump area a little more. There's a lot of rump that shouldn't be there! 


You can see the difference in the re-worked plastic and the mostly-original sculpt here:


I'm not worried about burning the plastic in this area, since it'll be removed and sanded/sculpted over anyway. Any pinholes I miss will just turn into insect holes in the end ;)


As you can see above, I started carving the ribs. After three ribs I had to stop for the night. Who knew carving would hurt your knuckles?? This is the part that'll take the longest, since I can only do so many a day/in a sitting. These aren't finished, by the way, I'm going to refine them once I have them all carved out.


I'm also not worried about the scratches. since they'll be refined, they'll be sanded over. The plastic is also thick, so I have a lot of wiggle room to make mistakes here. And if I break a rib? So be it! It'll add character! In the end I'm going to add scratches and nicks to the bone anyway. Since the ribs will be exposed and most of the insides removed, the marks in the bone and flesh will point toward scavengers, and imply the corpse was eaten post-mortem and peri-... undeadedness. If that's not a word, it is now! ;)

I'm going to work on the ribs some more tonight. I might also work on the thighs and do some refining of the work in-between, but the updates will be slow since I don't expect to get all of the ribs carved out in one day. 


So far, though, I'm pleased with his progress!

Thursday, September 3, 2015

Off With Their Heads!

Wow it's been a while since I've posted anything. I've been busy with non-model-horse-related things and had to put everything on hold. I'm still not completely done with what I was doing, but I've finally got time in my day to do other things - as in work.

So, I decided to work on a couple commissions!


Both of them required their heads to be cut off. The one on the left is a semi-drastic custom for my friend, Helena, and the one on the right is a drastic zombie custom. He's got a lot more work to be done on him.


Over and Out!